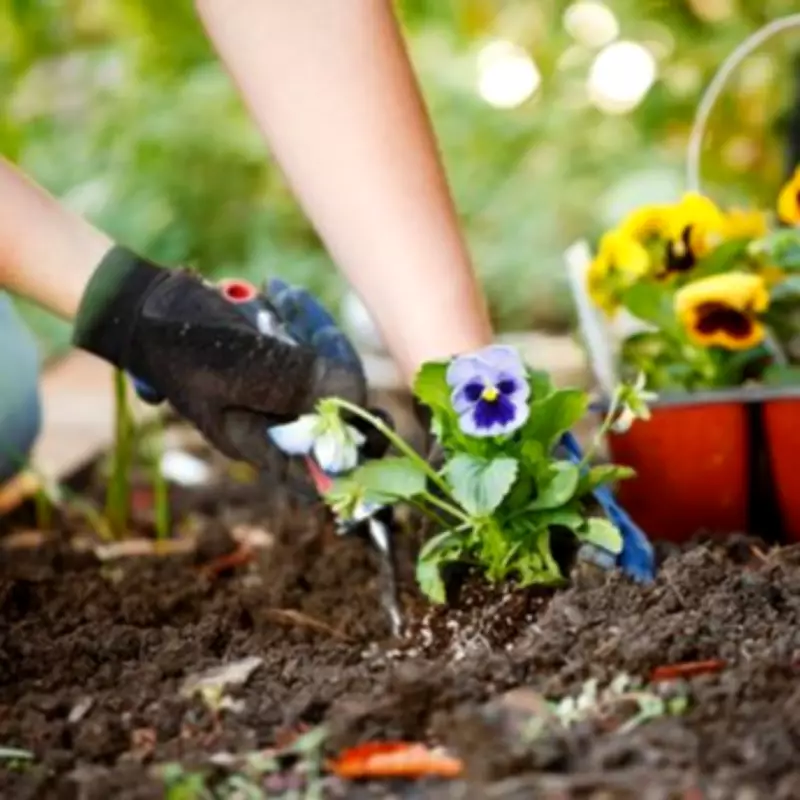
Expert Gardener Reveals Eight-Step Method for Lush Summer Blooms
With spring in full swing and warmer weather approaching, now is the perfect time to prepare your garden for a spectacular summer display. A seasoned UK gardener, known as Chris, has unveiled his ultimate eight-step guide to planting flowers, ensuring they not only survive but thrive in your garden borders. Boasting over 15 years of hands-on gardening experience, Chris shared his proven techniques in a recent social media video, promising to help gardeners achieve vibrant blooms every time.
Step 1: Pre-Planting Watering
Chris emphasises the importance of watering your plants thoroughly before placing them in the ground. Soak both the roots and soil to prevent transplant shock and ensure immediate hydration. This step helps roots establish quickly and avoids dehydration, as dry root balls can repel water, leading to plant stress even in moist soil.
Step 2: Digging the Ideal Hole
Contrary to common practice, Chris advises digging a hole wider than the plant pot, though it should match the depth of the root ball. This encourages roots to spread outward while preventing sinking. Ensure the top of the root ball sits level with the surrounding soil to avoid stem rot and promote healthy growth.

Step 3: Applying Mycorrhizal Fungi
Once the hole is ready, sprinkle in mycorrhizal fungi, a beneficial soil fungus that forms a symbiotic relationship with plant roots. This acts as an extension of the root system, enhancing nutrient and water absorption by up to tenfold. It also boosts drought tolerance, accelerates growth, and strengthens disease resistance by exchanging nutrients like phosphorus for plant carbon.
Step 4: Teasing the Roots
Gently loosen the root ball with your fingers before planting to prevent encircling growth and encourage outward expansion into fresh soil. For dense, root-bound plants, use a knife to score the root ball, ensuring long-term health and robust root development.
Step 5: Avoiding Compost in the Hole
Chris warns against placing compost directly into the planting hole, as it can cause roots to remain confined. Instead, apply compost as a surface mulch after planting to provide nutrients without restricting root growth.
Step 6: Using a 50/50 Soil Mix
When backfilling, use an equal mix of garden soil and compost. This combination helps the plant acclimatise to its new environment while delivering immediate nutrition. Using compost alone can trap roots, but blending it with soil ensures better adaptation and health.
Step 7: Mudding In Technique
Chris recommends the mudding technique, which involves creating a slurry of soil and water in the planting hole to eliminate air pockets and reduce transplant shock. This method is effective in both spring and autumn and is crucial for preventing root damage in hot or dry conditions. Simply layer soil and water until the hole is filled.
Step 8: Creating a Moat
As a final step, fashion a moat around the plant by forming a hollow with your fingers at the outer edge. This directs water down to the roots where it's needed, preventing moisture from accumulating in the crown, which can cause rot or fungal issues.
Chris concludes that following these eight steps will help gardeners achieve a garden bursting with vibrant summer blooms, transforming their outdoor spaces into thriving havens. With these expert tips, even novice gardeners can enhance their planting success and enjoy a colourful display throughout the season.