The Simple Painting Trick That Transforms Your Walls
If you are planning to redecorate your home in 2026, tackling the painting yourself can seem like a daunting prospect. Many homeowners find the idea of achieving a flawless, professional finish overwhelming, especially without prior experience. However, hiring decorators often comes with a hefty price tag, making DIY a smart and cost-effective alternative for those on a budget.
Fortunately, there is a wealth of brilliant online guides and tutorials to assist with your decorating adventure. From mastering the art of hanging picture frames to selecting the perfect colour schemes for each room, help is readily available. Now, one woman on Instagram has revealed a crucial painting tip that promises to elevate your results dramatically.
The 'Backrolling' Technique: A Professional Secret
Laura, an Instagram user, recently shared footage of herself painting her walls in a stunning green shade. She explained that she learned this invaluable technique from her mother, who originally picked it up from a seasoned professional painter decades ago. The painter, with over forty years of experience, emphasised one critical step to ensure a pristine finish.

"Once you get the wall painted, you just start at the top and roll all the way to the bottom. He calls it backrolling," Laura recounted. "This takes care of any drips or unevenness, and also gets the sheen all going in the same direction. I have been doing this ever since. It's such an easy way to make your paint job look more professional."
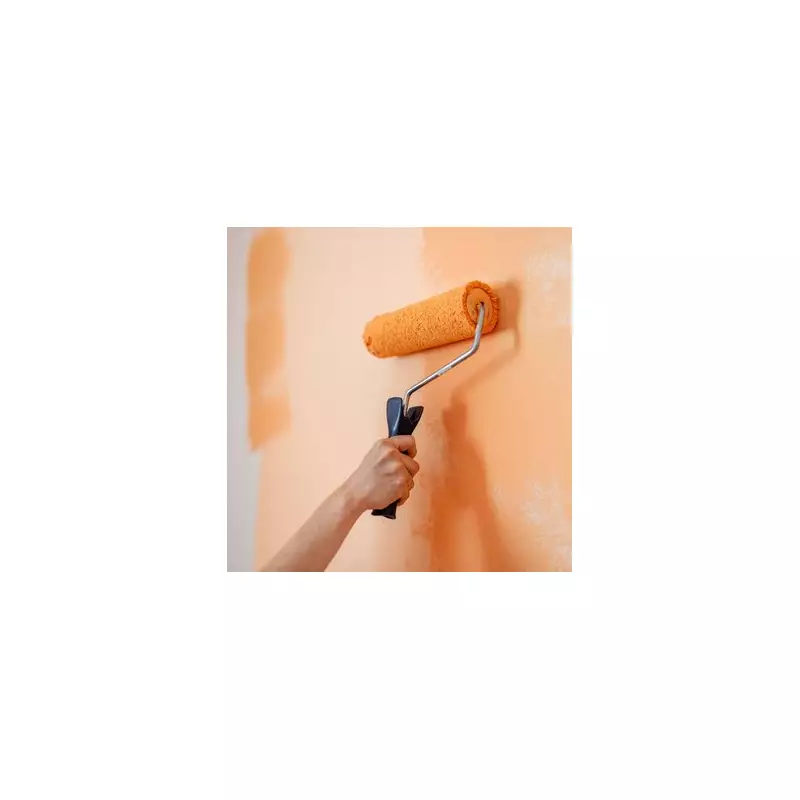
Backrolling is a widely recognised method in the painting trade. It involves running a paint roller over a freshly painted surface while the paint is still wet, without adding any extra paint to the roller. This action helps to drive the paint deeper into porous surfaces, improving adhesion and creating a remarkably even, uniform finish.
Laura clarified a key point in her caption: "Need to add that you do this on a freshly painted wall while it is still wet. I don't put more paint on the roller when I do this; I just use what's left." This distinction is vital for the technique to work effectively and avoid over-application.
A Step-by-Step Guide to Painting Your Walls
To incorporate backrolling into your own decorating project, follow this comprehensive step-by-step guide for painting walls like a pro.

- Prepare the Room
- Move furniture away from the walls or out of the room entirely.
- Cover floors and any remaining furniture with drop cloths to protect them.
- Use painter's tape to mask off baseboards, trim, windows, and door frames for clean edges.
- Prepare the Walls
- Clean the walls thoroughly with a damp sponge or a mild soap solution to remove dust, dirt, and grease.
- Lightly sand any rough spots or glossy areas to ensure better paint adhesion.
- Wipe down the walls after sanding to eliminate any residual dust.
- Cut in the Edges
- Using an angled brush, paint a 2-3 inch border along all edges, corners, and around trim. This process, known as "cutting in," helps create sharp, clean lines.
- Roll the Paint
- Pour your chosen paint into a roller tray.
- Load the roller evenly and roll off any excess paint to avoid drips.
- Start in a corner and apply the paint in a "W" or "M" pattern, then fill in the gaps.
- Work in manageable, small sections, blending the paint as you progress.
- Ensure you overlap slightly with the areas you have already cut in.
- Immediately after painting a section, perform the backrolling technique: without adding more paint, gently roll from the top to the bottom of the wet painted area to smooth out any imperfections.
- Clean Up
- Remove the painter's tape before the paint fully dries to prevent it from peeling off with the tape.
- Wash brushes and rollers promptly if you intend to reuse them.
- Once the paint is completely dry, reattach outlet covers and move your furniture back into place.
By integrating the backrolling method into your painting routine, you can achieve a sleek, professional-looking finish that eliminates common issues like drips, patchy streaks, and uneven sheen. This simple yet effective tip, passed down through generations of painters, could be the key to transforming your home decor projects in 2026 and beyond.