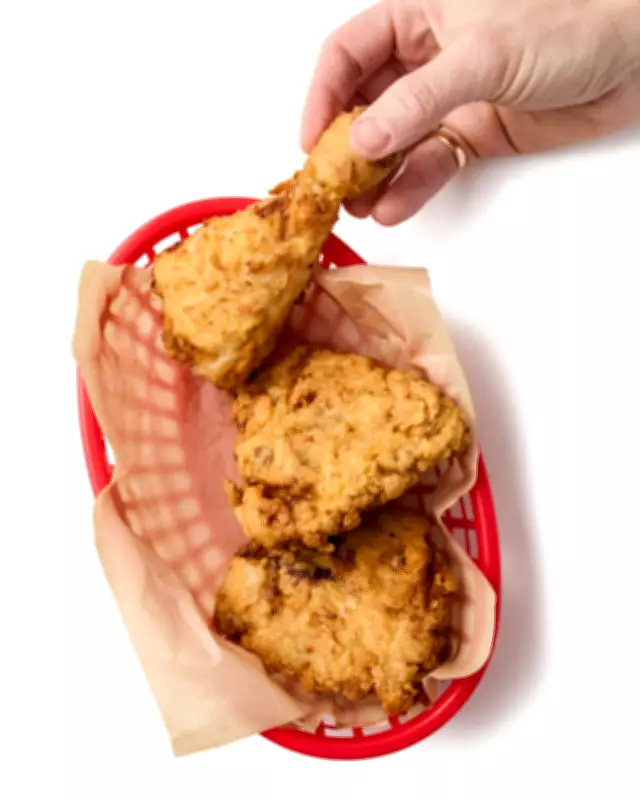
Felicity Cloake's Southern Fried Chicken: A Homemade Masterclass
Fried chicken is often a guilty pleasure, but making it yourself allows control over ingredients and quality. Felicity Cloake's recipe transforms this late-night snack into a healthier, more satisfying dish. By brining chicken in buttermilk and using a light flour coating, you achieve juicy, tender meat with a crisp exterior—all without the guilt of fast food.
Ingredients and Preparation
This recipe serves 2-3 people and requires minimal prep time. You'll need:
- 300ml buttermilk (or natural yoghurt thinned with water)
- 2¼ tsp salt
- 6 pieces of chicken (drumsticks and thighs recommended)
- 110g plain flour
- 40g cornflour, rice, or potato flour
- ½ tsp freshly ground black pepper
- ½ tsp smoked paprika
- ¼ tsp MSG (optional)
- Neutral oil for frying (vegetable, sunflower, groundnut, or lard)
Prep takes 5 minutes, marinating requires 4 hours or more, and cooking lasts 40 minutes.

Step-by-Step Instructions
Step 1: Prepare the Buttermilk Brine
Buttermilk is ideal for its consistency and tenderizing properties. If unavailable, mix natural yoghurt with water until pourable. Combine 275ml buttermilk with 2 tsp salt in a container to enhance moisture retention, ensuring juicier chicken.
Step 2: Choose Your Chicken
Opt for drumsticks, bone-in thighs, or wings. For breasts, cut them in half if large. Removing the skin allows better marinade penetration, though traditionalists may leave it on.
Step 3: Marinate the Chicken
Coat chicken pieces in the buttermilk mixture, cover, and refrigerate for 4-24 hours. Avoid exceeding 24 hours to prevent mushiness; even 30 minutes marinating improves texture.
Step 4: Create the Coating
Mix flours in a shallow bowl—using gluten-free options like cornflour yields a lighter, crispier coating. Add seasonings and the remaining salt, then rub in 25ml buttermilk with your fingers for extra flavor.
Step 5: Coat the Chicken
Shake excess buttermilk off each piece, dredge in flour, and press firmly to ensure full coverage. Place on a rack over a tray. Alternatively, use a container to shake and coat all pieces at once.
Step 6: Chill Before Frying
Refrigerate coated chicken for at least 30 minutes. This step dries the batter, reducing the risk of it falling off during frying. No need to bring to room temperature before cooking.
Step 7: Heat the Oil
Use a deep, heavy pan with a lid (cast-iron is ideal) and fill with 2cm of neutral oil. Heat to 190°C on medium-high, using a thermometer for accuracy.
Step 8: Fry the Chicken
If cooking in batches, preheat the oven to low. Carefully add half the chicken to the hot oil without overcrowding. Cover and fry for 10 minutes, checking oil temperature halfway—it should be around 150°C. Adjust heat as needed and rearrange pieces for even browning.
Step 9: Finish and Serve
Turn chicken pieces, increase heat slightly, and fry uncovered until golden and cooked through. Drain on a rack and rest for at least 10 minutes. Keep warm in a low oven if necessary, and repeat with remaining chicken after reheating oil and removing scraps.
This recipe offers a delicious, homemade alternative to fast-food fried chicken, emphasizing quality ingredients and simple techniques for a perfect result every time.