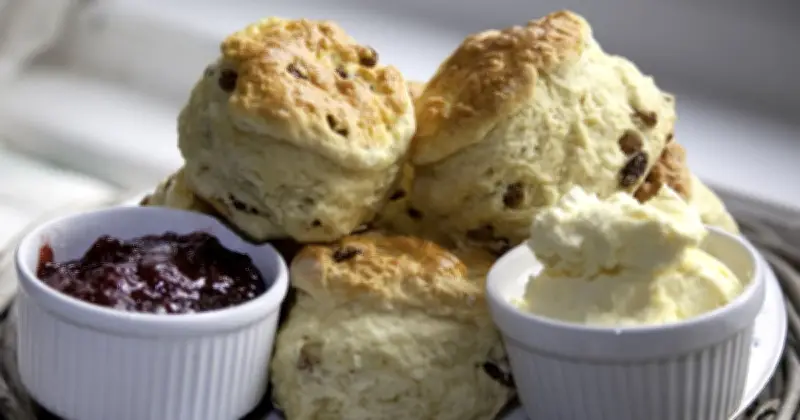
Two simple steps before baking can ensure scones rise evenly and achieve a light, fluffy texture. The first step is using frozen butter, which prevents it from melting prematurely and creates steam for air pockets. The second is cutting the dough without twisting the cutter, which seals edges and hinders rising.
Frozen Butter for Flaky Texture
Grating frozen butter into the flour is recommended by experts. As the butter melts during baking, it releases steam, forming air pockets that make the scones airy and flaky. According to Sally's Baking, “Keeping scone dough as cold as possible prevents over-spreading. Frozen grated butter is the real key to success.” They explain that butter-flour crumbs melt and create air pockets, resulting in a flaky center and crisp edges. Refrigerated butter may melt while working the dough, but frozen butter holds out until the oven.
No Twisting the Cutter
The second step is pressing the cutter straight down and lifting it straight up without twisting. Twisting seals the dough edges, preventing even rising. Home Bake Academy advises, “Dip the cutter in flour each time... Make sure you press the cutter straight down and lift it straight up, don’t twist it. For tall, even scones, it’s all about that clean cut.” After cutting, place scones close together on the baking tray to encourage upward rise rather than spreading.
These techniques, combined with cold ingredients like heavy cream and egg, help avoid over-spreading and produce superior homemade scones.