Get Salon-Worthy Brows at Home with This Easy Brow Lamination Guide
Tired of unruly brows but don't want to splurge on salon treatments? Brow lamination - the technique that gives you perfectly groomed, fluffy brows - can now be done in the comfort of your home. Here's everything you need to know to achieve professional results without the hefty price tag.
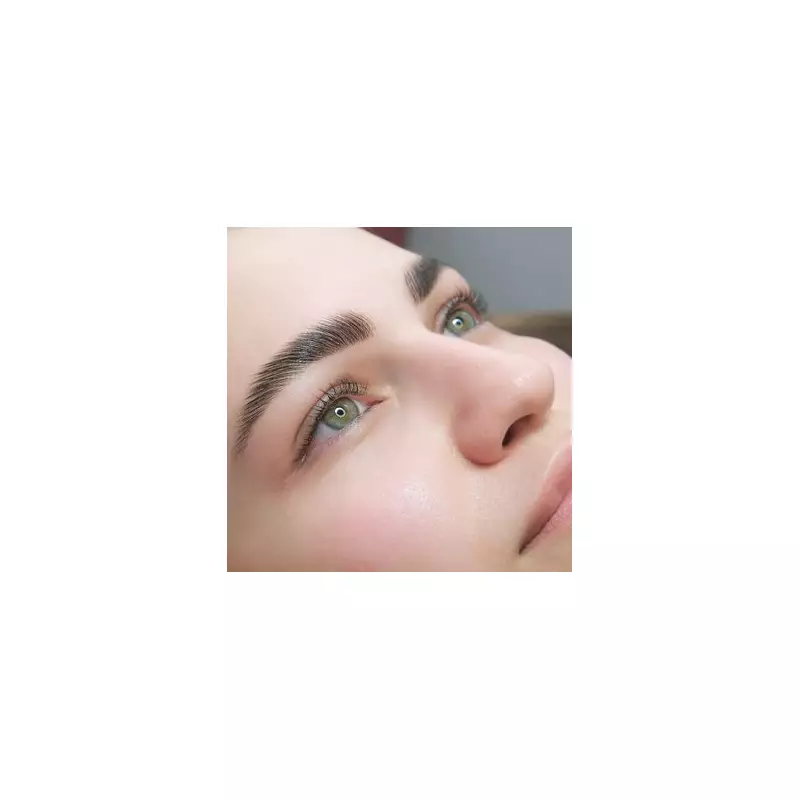
What is Brow Lamination?
Brow lamination is a semi-permanent treatment that straightens and sets your eyebrow hairs in place, creating a fuller, more defined look. Unlike microblading or tinting, it works with your natural brows, giving them a brushed-up, feathered appearance that lasts for weeks.
The DIY Brow Lamination Kit You'll Need
- Brow lamination solution (perming lotion)
- Neutralising solution
- Nourishing brow serum or oil
- Spoolie brush
- Small angled brush
- Brow gel
Step-by-Step Guide to Perfect Brows
- Prep your brows: Cleanse the area thoroughly and brush hairs upwards with a spoolie.
- Apply the lamination solution: Using your angled brush, carefully apply the perming lotion following your brow's natural shape.
- Wait and watch: Leave for 5-10 minutes (check product instructions).
- Neutralise: Apply the neutralising solution to set the shape.
- Nourish: Finish with a conditioning serum to keep brows healthy.
Pro Tips for Best Results
Always do a patch test 24 hours before to check for allergies. Work in a well-lit area and take your time - rushing can lead to uneven results. For first-timers, consider practicing with a brow gel first to get comfortable with the brushed-up look.

With this simple technique, you can say goodbye to bad brow days and hello to perfectly laminated arches that last 4-6 weeks!