With garden growth accelerating and plants thriving, summer is the perfect season to make the most of an outdoor space. Yet since the spring months arrived, my lawn had been utterly overtaken by moss and weeds, with barely any healthy grass left.
Shaded spots, waterlogged soil, inadequate drainage and feeble grass growth can all create ideal conditions for moss and weeds to proliferate. Once they begin taking hold, they slowly dominate the thinner sections of the lawn and make it more difficult for healthy grass to flourish.
Deciding I had had enough, I set about finding the most effective way to restore the lawn without resorting to harsh chemicals. While exploring gardening expert Monty Don's blog, I stumbled upon guidance on rejuvenating lawns through scarification and aeration, so I resolved to give it a go.
What are scarification and aeration?
Scarification is a technique that removes excess thatch and moss from the base of the grass to promote healthier growth. This is then complemented by aeration, which entails puncturing the soil to enhance the flow of air and water down to the roots.
Monty Don recommended using a garden rake and fork to scarify and aerate, but my lawn is remarkably large and badly affected by moss, so it would take considerable time and effort to address it by hand.
Trying an electric two-in-one scarifier
Instead, I chose to trial an electric scarifier that functions as an aerator as well. The item in question is the two-in-one VonHaus Scarifier and Aerator 2000W.
Armed with this handy garden tool, I succeeded in removing the moss from my lawn and getting it ready for overseeding in slightly under three hours.
Preparing the lawn for scarifying and aerating
Prior to scarifying and aerating the lawn, I initially cut the grass to a height of approximately two to three centimetres.
Scarifiers feature extremely sharp blades, so before beginning, it was crucial to ensure they were properly adjusted. I set the blades so they pierce the soil to two to three millimetres. It's advisable to test the depth on a small patch of grass and readjust if needed.
How I scarified the lawn
I began by uniformly working across the entire lawn in one direction, then rotated and went diagonally over the whole space once more. I ensured to move swiftly and steadily across the lawn without stopping so that I wouldn't harm the turf.
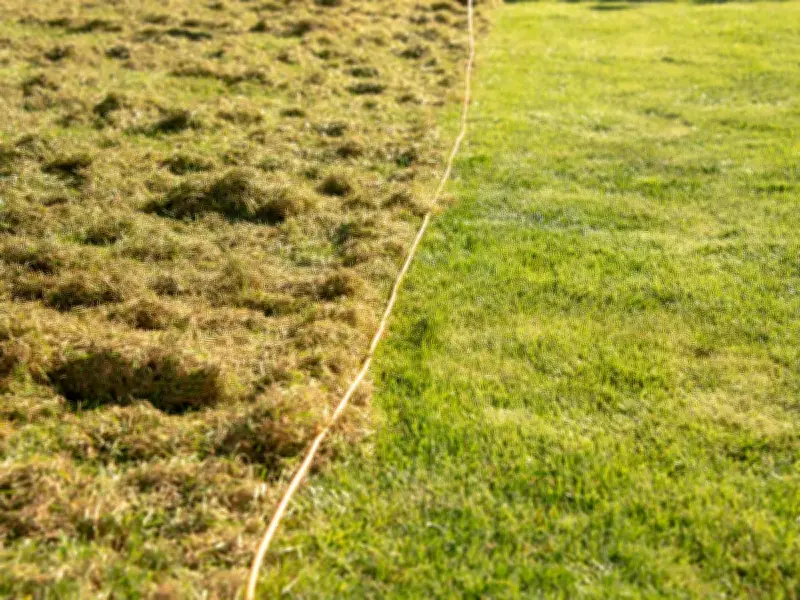
Scarifying can prove quite unnerving when operating a machine. As you steer the equipment across your grass, you'll observe a trail of destruction left in its wake. I was rather shocked to find that the collection box was filled by the conclusion of the first run to the top of the garden.
Numerous grooves had appeared in the lawn at this point, caused by the scarifier's blades, yet following this first pass, there remained a substantial amount of moss underneath.
I ran the scarifier across the entire lawn from top to bottom, then guided it diagonally from the bottom left to the top right, before finishing with a final diagonal pass from the bottom right to the top left.
My advice here would be to stay calm, as your lawn will more than likely look worryingly bare following the scarifying and aerating process.
Aerating and the next steps
Once the scarifying was complete, it was time to move on to aeration. A quick swap of the rollers had the machine primed and ready to go. After switching it on and adjusting the settings according to my soil type and preferred spike depth, I made my way steadily across the lawn.
With aeration done, the next stage in reviving my lawn will be to overseed before putting down a layer of top dressing.