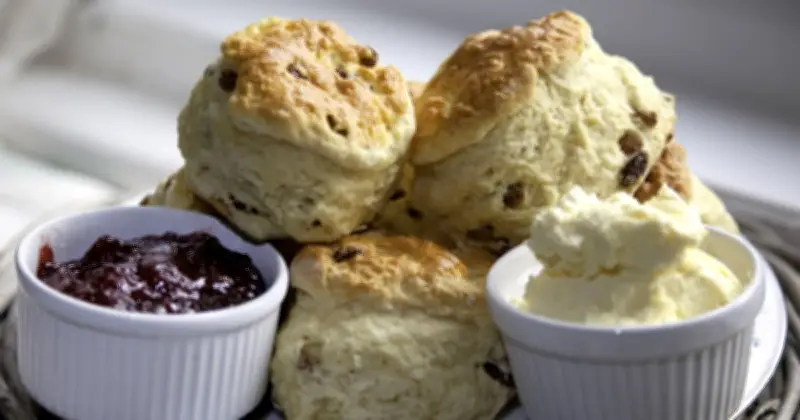
Following two simple steps before scones hit the oven will result in an even and fluffy bake. Using frozen butter when making scones helps create a light, fluffy texture.
Frozen butter is key
The first important step is to ensure your butter is frozen before adding it to your mixture, as this prevents it from melting before your scones go into the oven. Experts recommend grating frozen butter into the flour and as this melts, it releases steam and creates those desired air pockets for an airy, fluffy texture, and it also contributes to a richer flavour.
Sally’s Baking explains: “Keeping scone dough as cold as possible prevents over-spreading. When scones over-spread in the oven, they lose the flaky, moist, and deliciously crumbly texture. In other words, they’re ruined.
“But the easiest way to avoid disaster is to use cold ingredients like cold heavy cream, egg, and butter. But frozen grated butter is the real key to success.
“Like with pie crust, work the cold butter into the dry ingredients to create crumbs. The butter/flour crumbs melt as the scones bake, releasing steam and creating air pockets. These pockets create a flaky center while keeping the edges crumbly and crisp.
“Refrigerated butter might melt in the dough as you work with it, but frozen butter will hold out until the oven. And the finer the pieces of cold butter, the less the scones spread and the quicker the butter mixes into the dry ingredients.”
Cut without twisting
The second important step to ensure an even rise in the oven is to avoid twisting your cutter as you cut out your scones. If you twist your cutter this can seal the edges of the dough and prevent it from expanding, which can then result in an uneven bake, whereas an even cut allows the dough to rise and expand freely, giving you bigger and taller scones.
To avoid this mistake, aim to press the cutter straight down into the dough and lift it straight back up, removing the scone immediately so it doesn’t reattach to the surrounding mixture. It can also help if you dip your cutter in a bit of flour first as this should help give a nice clean cut.
Home Bake Academy said: “When cutting out your scones with a round cutter, dip the cutter in flour each time before pressing it into the dough. This helps prevent sticking and gives you cleaner edges.
“Make sure you press the cutter straight down and lift it straight up, don’t twist it. Twisting the cutter seals the edges of the dough, which can stop the scones from rising evenly. For tall, even scones, it’s all about that clean cut.”
Once your scones have been cut out, place them on a baking tray close together. By avoiding big gaps between each scone, this helps encourage the dough to rise straight upwards, rather than spreading out, so the result should be a taller and softer scone as the sides are shielded from heat of the oven.