As the chill of winter begins to bite across the UK, ensuring your home heating is running efficiently becomes a top priority. Getting the most out of your radiators is a crucial step in avoiding wasteful energy use and keeping a lid on soaring bills during the colder months.
Is Your Radiator Blocked? The Key Signs to Spot
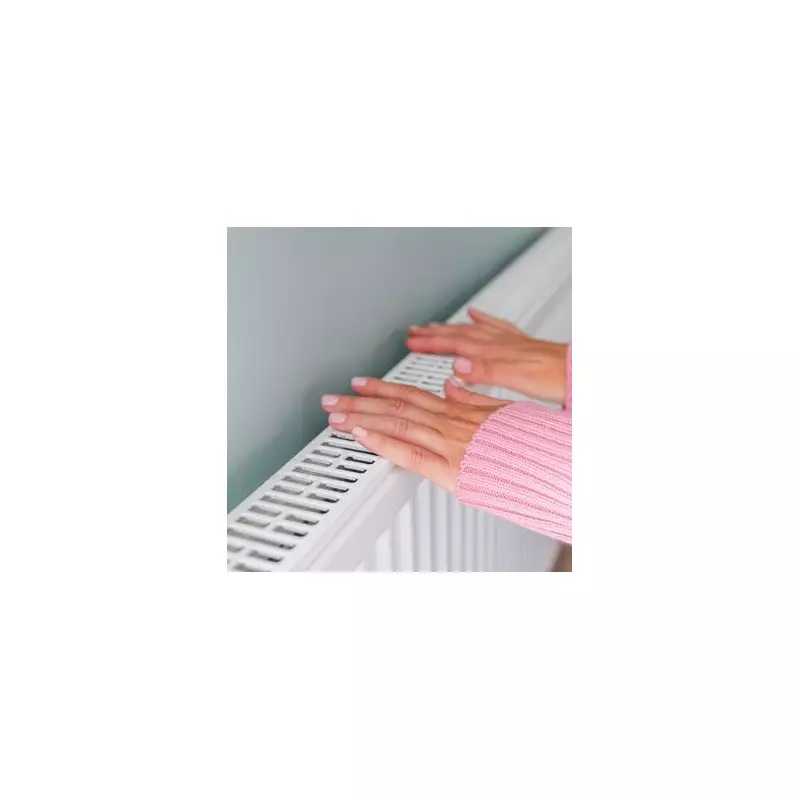
To maintain an efficient heating system, it's vital to check all the radiators in your property for a specific issue: cold spots. Experts highlight that these cold areas typically point to one of two common problems. The first is trapped air, which is resolved by a simple process called bleeding. The second, more stubborn issue, is a blockage caused by a build-up of sediment, which requires flushing.
Before you reach for any tools, it's essential to understand the difference between these two fixes. Bleeding a radiator is the remedy for releasing trapped air that has accumulated over time. This air prevents hot water from circulating properly, leading to those frustrating cold patches, often at the top of the unit. You might also hear gurgling sounds as the air tries to escape. Releasing this air allows the radiator to fill completely and heat up evenly.

When a Simple Bleed Isn't Enough: The Need for Flushing
In contrast, flushing a radiator is necessary when the system has become clogged with sludge. This sediment is a grimy combination of rust, dirt, and limescale that settles at the bottom of the radiator, causing uneven heating. To restore proper function, the radiator must be removed and flushed through with clean water to dislodge this blockage.
But how can you be sure you need to flush your radiator and not just bleed it? The specialists at bestheating.com advise proceeding with a flush if you notice any of the following warning signs:
- Cold patches concentrated at the bottom of the radiator.
- Brown or discoloured water being released when you bleed the radiator.
- A frequent need to bleed your radiators.
- Your boiler is making loud or unusual noises.
The Consequences of Ignoring a Blocked Radiator
Failing to address radiator sludge can have costly consequences. This circulating gunk prevents hot water from flowing freely, meaning your heating system has to work harder to warm your home. The result? You pay more money for less heat. Furthermore, this sludge is a leading cause of boiler breakdowns and can significantly shorten the lifespan of your entire central heating system.
If you discover a blockage, you have two main choices: call a professional plumber for a power flush, or tackle the job yourself. Toolstation has provided a comprehensive seven-step guide for those feeling confident enough to flush their own radiator.
How to Flush Your Radiator: A DIY Guide
Before you begin, gather your supplies: old towels or sheets, an adjustable spanner, a large bowl or bucket, a radiator bleed key, and a garden hose pipe.
Step 1: Turn Off the Central Heating
Ensure your heating system is completely switched off and the radiators have cooled down to avoid any risk of burns.
Step 2: Isolate the Radiator
Using your spanner, turn off both valves on the radiator. Then, use the bleed key to open the air vent and release any remaining pressure.
Step 3: Prepare for Removal
Lay old towels on the floor to protect it. Loosen the nuts connecting the radiator to the valves, allowing some water to drain into your bowl.
Step 4: Remove the Radiator
Carefully lift the radiator off its wall brackets, tilting it to minimise spills. Due to the weight and water content, having a helper is strongly recommended. Take the radiator outside.
Step 5: Flush Out the Sludge
Attach your hose to a mains water source and insert it snugly into one of the radiator openings. Turn the water on to full pressure for about 10 seconds to loosen debris. Switch the hose to the other end and repeat. Continue this process until the water running out of the radiator becomes completely clear. If the flow is restricted, try opening the bleed valve at the top during flushing to release trapped air.

Step 6: Reinstall the Radiator
Once clean, carry the radiator back inside, reattach it to the brackets, and securely tighten the valve nuts.
Step 7: Refill the System
Turn the valves back on to allow water to refill the radiator. Use your bleed key to release any trapped air, ensuring the radiator is full. This is also an ideal time to check other radiators in your home for similar issues, helping you maintain an efficient heating system for the winter ahead.