A DIY expert has claimed that your patio can be made "spotless" using a straightforward technique involving just two common household items, eliminating the need for expensive chemical cleaners or a pressure washer. Preparing your outdoor area for summer doesn't have to break the bank or harm the environment, according to Fix it with Fowler.
Eco-Friendly Cleaning Method
He maintained that his "eco-friendly" approach delivers "spotless" results without relying on "harsh chemicals" that could pose risks to pets or require a jet wash. The solution calls for two products you may well have "under your kitchen sink", one of which costs a mere 62p at Aldi. He outlined the method in a video for his YouTube channel.
The expert said: "Have you got a dirty patio like this? Well, today on Fix It With Fowler, I'm going to show you how to clean it without using any harmful chemicals, especially for the environment, and even for your pets. And the best thing is you don't even need a jet wash."

Step-by-Step Guide
Step 1 - Clear away any weeds
He noted that the technique isn't "damaging" to plants, so weeds must be cleared before you begin. For this task, the expert employed a trowel to scrape them from the tiles.
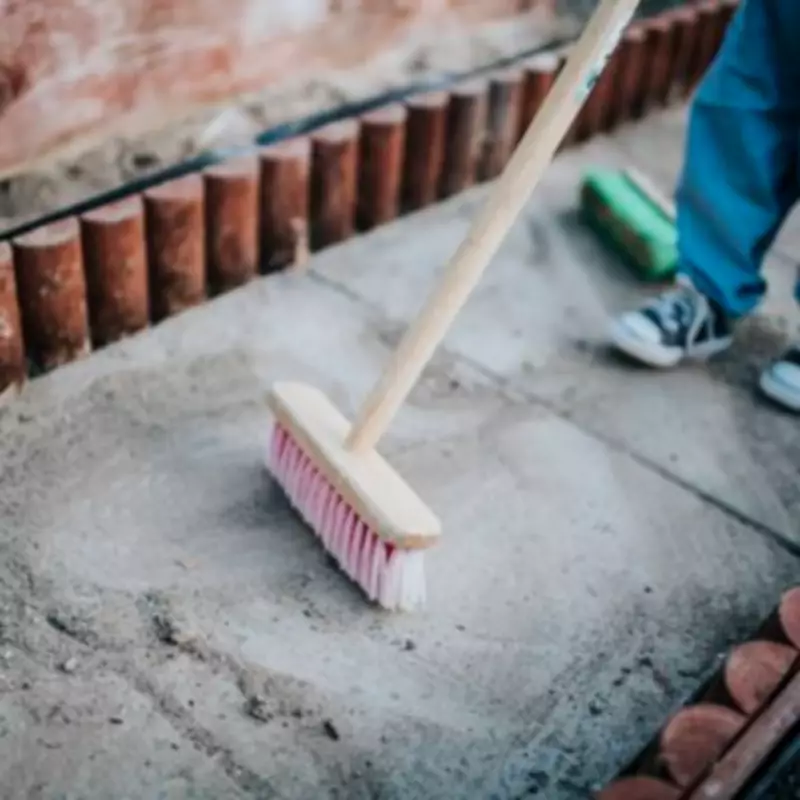
Step 2 - Sweep and rinse down the patio
Next, utilise a stiff brush to sweep the area and clear any "loose debris". You can then wet the space using a "quick and convenient" garden hose.
Step 3 - Add your ingredients
He said: "So the next stage is to apply some sodium carbonate, and I've got this soda crystals, which is sodium carbonate, readily available. And if you're lucky, you might have some under your kitchen sink." The expert clarified that you simply need to give the patio a "light sprinkle", making sure you cover the whole surface, and then add a "little bit of washing up liquid". For his patio, the expert used Dri-Pak Soda Crystals, which are sold online for £3.29 (1kg), though alternative brands are available.
Step 4 - Scrub the surface
Next, you should scrub the patio using a stiff brush, beginning at one end of the tiles and working "your way around". He described this step as the "hardest part" and advised paying particular attention to any "bad" sections. When finished, simply leave it for 48 hours to complete the process.
Step 5 - Rinse
Following a 48-hour period, the expert came back to the patio, where a noticeable improvement was evident. He noted that rainfall had already cleared away some of the residue, but he would complete the job with a hose before allowing it to dry.