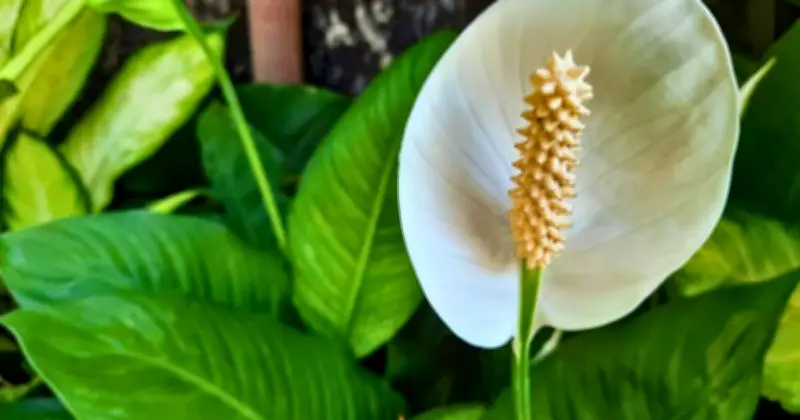
Peace lilies are among the most popular houseplants, admired for their striking blooms, but they can be surprisingly demanding. When their care requirements are not met, they quickly show their displeasure through yellowing or browning leaves. The good news is that this common problem has a simple solution that takes just five minutes.
Why Peace Lily Leaves Turn Yellow
Yellowing leaves on a peace lily can sometimes be a normal sign of ageing, especially if only one leaf yellows at a time, the pot is not waterlogged, and the change occurs slowly over weeks. However, when multiple leaves turn yellow and begin browning at the tips, the cause is usually not the plant's maturity.
Multi-award-winning UK houseplant brand Grow Tropicals states that "the most common cause" of peace lily yellowing is overwatering. Peace lilies are tropical plants that thrive in high humidity and moisture, but it is easy to give them more water than they actually need.
The Overwatering Problem
Grow Tropicals explains: "Peace lily yellow leaves are, more often than not, a sign of overwatering. If several lower leaves turn uniformly yellow and the soil is constantly wet, the roots are struggling."
"Soggy soil starves roots of oxygen and leads to root rot, at which point the plant cannot take up water properly, however much you give it," they add.
Experts at Peace Lily Care agree, noting: "If multiple lower leaves are yellow at once and the soil feels constantly damp, excess moisture or poor drainage may be stressing the roots. Roots can't breathe in soggy soil; they suffocate, and the plant abandons leaves to conserve resources."
How to Fix Yellow Leaves in 5 Minutes
The first step is to remove the yellow leaves, as once a leaf turns fully yellow it will not recover. The goal is not to save the yellow leaf but to prevent the next one from yellowing. This task takes about five minutes.
To remove the leaves, follow their stems down toward the crown and cut them as low as you can safely reach. Avoid yanking, as pulling can tear crown tissue or disturb nearby healthy stems. Removing fully yellow lower leaves also helps the plant look cleaner.
Proper Watering Technique
After removing the yellow leaves, stop watering and allow the upper mix to begin drying. Check moisture deeper in the root zone before watering again. If you notice a sour smell, a soft crown, or drooping in wet soil, unpot the plant promptly to check for root rot.
Water only when the top 50% of the potting mix has completely dried out. Water thoroughly until it flows out of the drainage hole, then discard any excess water. If you water more often and the soil stays constantly wet, the roots cannot access nutrients and oxygen, which over time can lead to root rot.