Film photography is enjoying a resurgence, particularly among younger people drawn to its distinctive look and analogue feel. However, for those who grew up with digital cameras, using film can be daunting. Terms like ISO, f/stop and aperture may be unfamiliar, but getting to grips with them is part of the appeal.
George Walker IV, an Associated Press photojournalist based in Nashville, says shooting on film is an excellent way to learn photography because it forces patience and concentration. “You have a finite number of frames on a roll of 35mm film, usually 24 or 36. And you should make those pictures count,” he explains.
Film produces images with a grainy or unfiltered quality that attracts fans tired of overly perfect digital photos. It is part of a broader revival of old-school hobbies, including vinyl records, knitting and letter writing. The most common film format is 35mm, available at photo shops, online, and some drugstores. When buying film, pay attention to the ISO rating: higher numbers (e.g., 1600) suit low-light situations, while lower numbers (400 or less) are best for bright scenes. Beginners are advised to start with black and white film, which is more forgiving with exposure and encourages focus on composition.

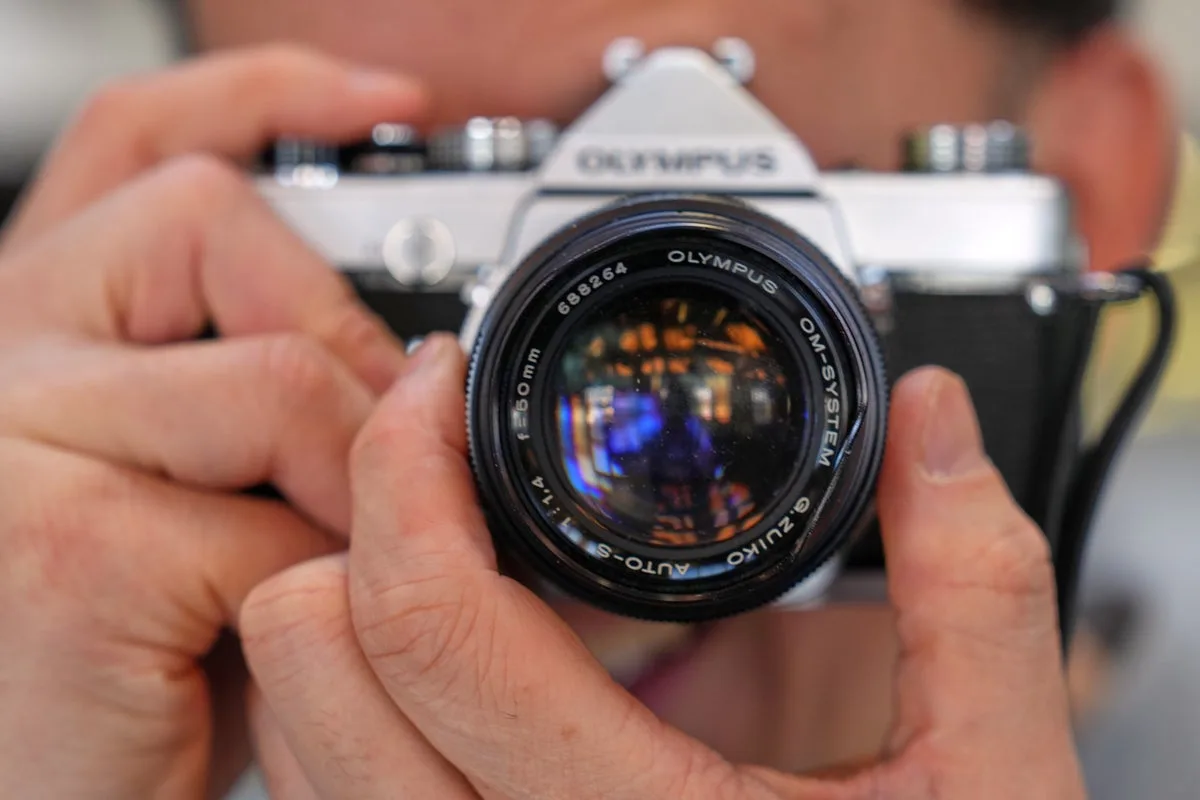
New film cameras are limited to a handful of models, but plenty of secondhand vintage cameras are available on eBay or at camera shops. Look for models from major pre-digital brands such as Canon, Nikon, Pentax, Olympus or Minolta. Point-and-shoot cameras are small and easy to use, while single-lens reflex (SLR) cameras offer full manual control with interchangeable lenses, ideal for those wanting to learn and experiment.
Loading film varies by camera. With a manual camera, open the back, feed the film leader into the spool slot, advance using the winding lever, and close the back. The rewind knob should turn if loaded correctly. Point-and-shoot cameras often have automatic winding; check the label for positioning. Once loaded, keep the camera back closed until the film is rewound to avoid ruining the roll. Mastering exposure involves adjusting shutter speed, aperture (f/stop), and setting the ISO—skills that reward patience and practice.