While the urge to simply open a paint tin and start decorating can be strong, taking a few preparatory steps can transform your project from amateur to luxurious. According to specialists at Toolstation, the key to an elevated look lies in meticulous surface preparation, a stage many DIY enthusiasts unfortunately skip.
The Critical First Step: Smoothing the Surface
Before any paint touches the wall, experts strongly advise addressing the wall's condition. This involves applying filler to any cracks, holes, or blemishes present. Crucially, you must allow this filler to dry completely for at least one hour before proceeding to the next phase: sanding.
Why Sanding is Non-Negotiable
Sanding the entire wall surface, whether using a power sander or traditional sandpaper, is essential for achieving a smooth, clean base. This process removes imperfections from previous paint jobs and dislodges ingrained debris such as dust, hairs, or even insects. As one Reddit user noted, "Sanding before will knock down previous paint jobs' imperfections and dislodge ingrained dust, hairs, etc."

For optimal results, the recommended sandpaper grain is 120 grit. A professional builder confirmed this, stating, "I'm a builder and my painters never ever use anything more than 120."
Setting the Stage for a Professional Finish
To create the ideal working environment, begin by emptying the room of as much furniture and soft furnishings as possible. This provides ample space to move and work efficiently. Next, protect any remaining carpets and immovable furniture by covering them thoroughly with dust sheets to prevent stains or spills.
Inspect the wall surface carefully, removing any nails or staples. Additionally, loosen plug sockets so they hang away from the wall, ensuring the entire surface is exposed for painting.
Mastering the Application Process
The Toolstation specialists then recommend applying painter's tape to areas you wish to keep paint-free, such as skirting boards, light switches, and sockets. Following this, apply at least two coats of primer paint using a roller, ensuring even coverage across the wall. Allow the primer to dry for a minimum of three hours.
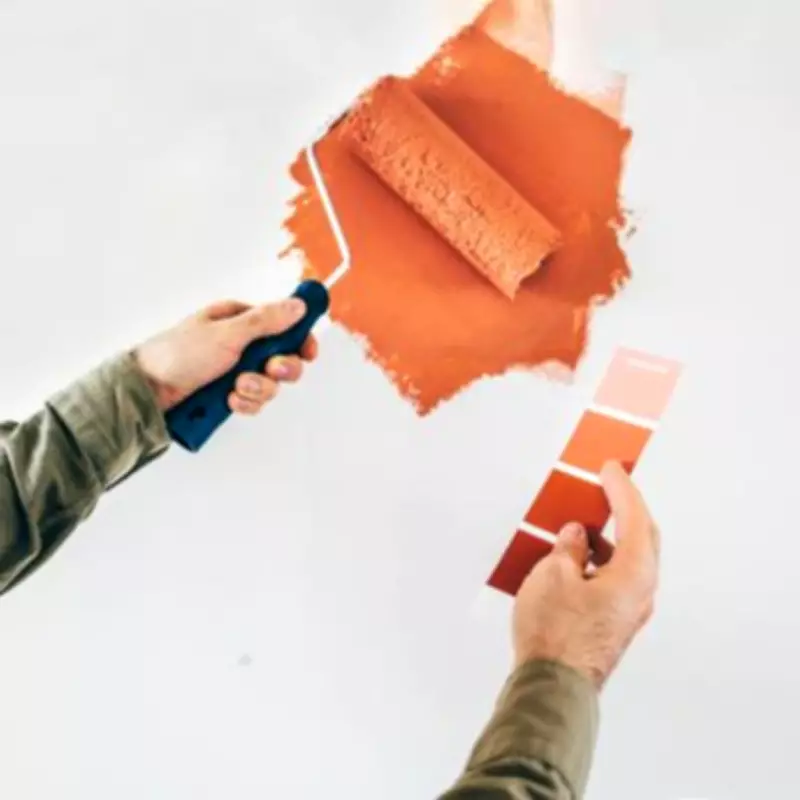
Once the primer is dry to the touch, use a paintbrush to carefully cut in around the edges of the wall. For the main wall sections, employ a roller to apply the topcoat. Apply two even coats of paint, allowing at least six hours of drying time between applications.
Calculating Paint Quantities and Final Touches
Estimating the correct amount of paint can be challenging. A useful guideline is that approximately one litre of paint covers 10 square metres of wall surface. DIYers can measure their walls to calculate the total litres required.
After the final coat has dried, carefully peel off the painter's tape and inspect the walls for any missed spots. Secure any loosened plug sockets firmly back into place. Finally, remove all dust sheets, vacuum the room thoroughly to eliminate dust, and return the furniture to its original position.
The experts concluded by advising, "For more precision in smaller areas, use a paintbrush. However, for larger surfaces such as walls and ceilings, a roller undoubtedly speeds up the process and ensures an even amount of paint is applied. It's best to use paintbrushes around the edges and save rollers for the middle sections." This comprehensive approach ensures a polished, professional-looking result that elevates your home's aesthetic instantly.